
Obtaining the Latest Kali Image
When it comes to getting the latest Kali image, follow these steps:
Navigate to the Image Source – First, head over to the official Kali Linux images repository at https://images.linuxcontainers.org/images/kali/current/amd64/default/.
Select the Current Version Folder – Within the repository, locate and click on the folder that corresponds to the current version. For instance, I clicked on the folder labeled “20230414 17:56.”
Find the Root Filesystem – Inside this version directory, you’ll spot the “rootfs.tar.xz” file. Right-click on this file to copy its link.
Setting Up Proxmox for the Kali Container
Now, let’s move on to configuring Proxmox for your Kali container:
Log In to Proxmox – Log in to your Proxmox interface.
Navigate to CT Templates – On the left-hand side, select your Node, then navigate to “CT Templates.”
Download from URL – Look for the “Download from URL” option and click on it.
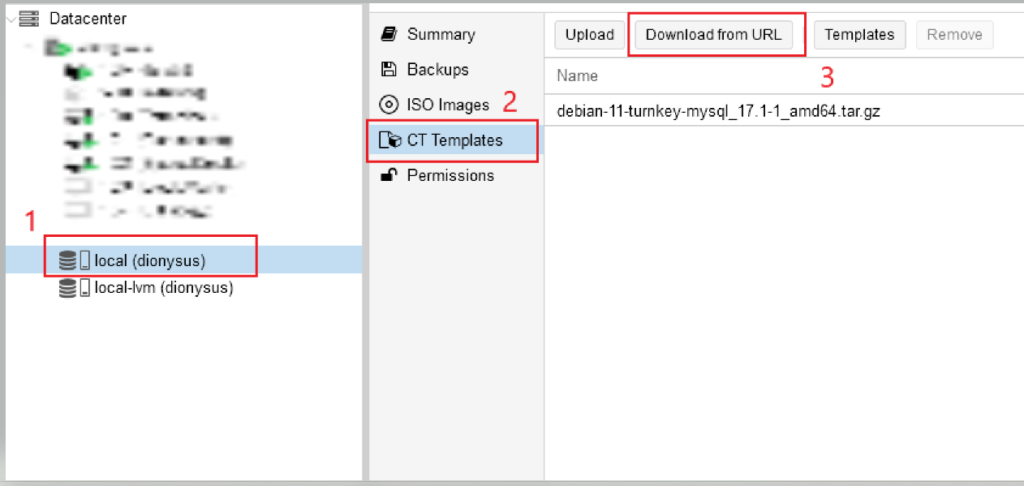
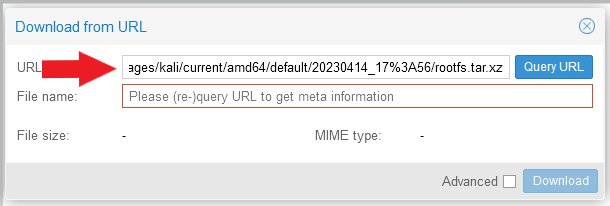
Paste the Copied URL – In the window that appears, paste the previously copied URL into the URL box. Click on “Query URL” and then “Download.”
Create a Container – Once the download is complete, it’s time to create your container:
- Click on “Create CT” from the top-right corner of the Proxmox interface.

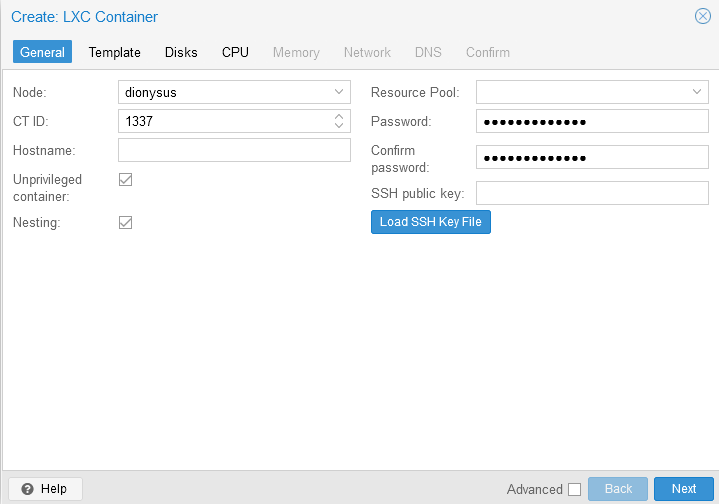
Configure Container Settings – Configure your container settings as follows:
- Assign an ID and Password.
- Click “Next.”
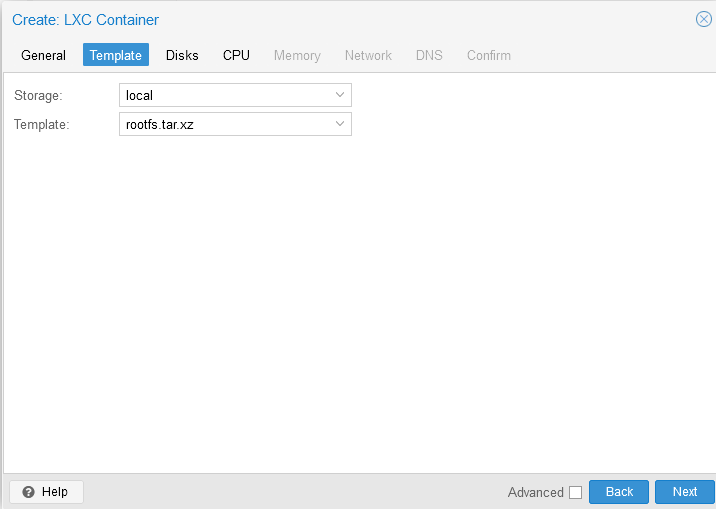
Select the Template
On the template selection screen, choose the recently downloaded file (“rootfs.tar.xz”). Note that you’re creating a template that includes the root filesystem.
- Click “Next.”
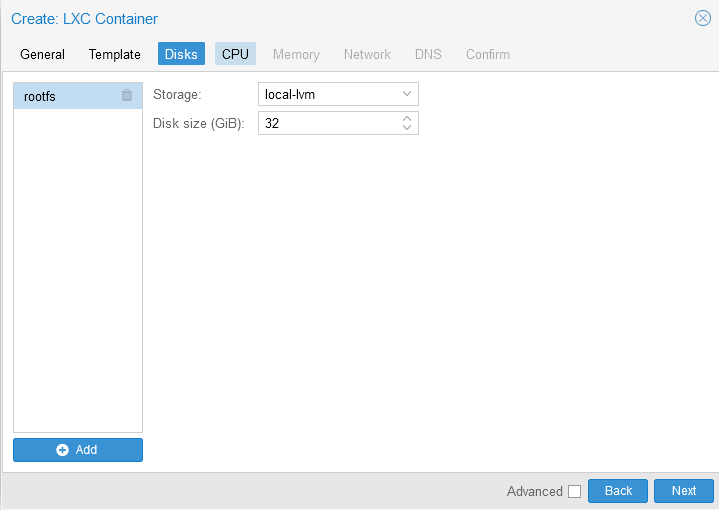
Allocate Storage – Allocate storage space for your container. I opted for 32GB.
- Click “Next.”
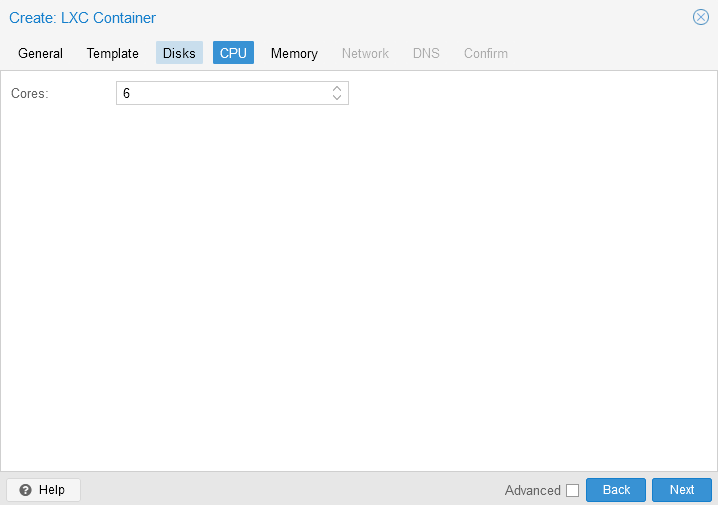
Assign CPU Cores – Assign CPU cores to your container. I chose 6 cores.
- Click “Next.”
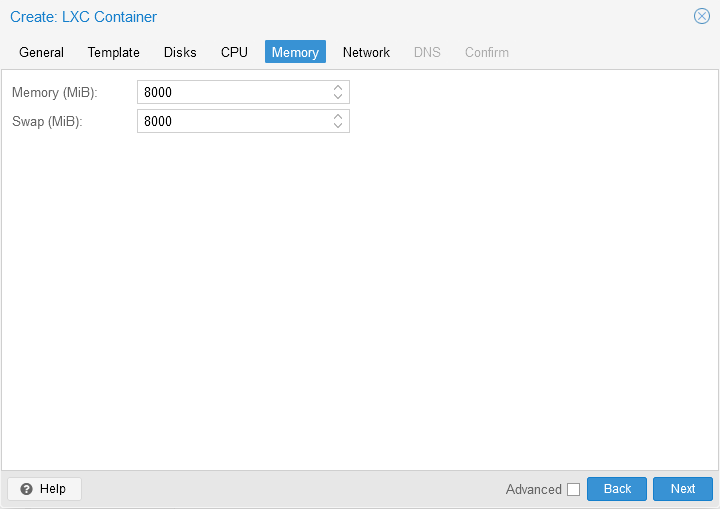
Allocate RAM – Allocate RAM to your container. I allocated 8GB.
- Click “Next.”
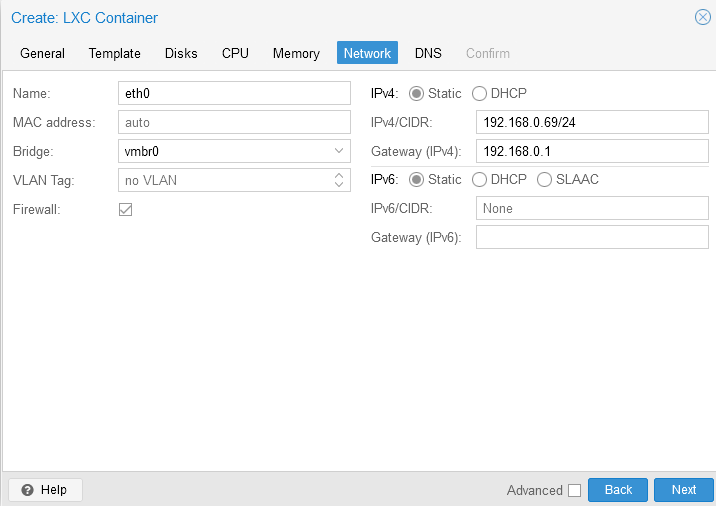
Set IP Address – On the next screen, assign a static IP address to your container, or leave it dynamic—it’s up to you.
- Click “Next.”
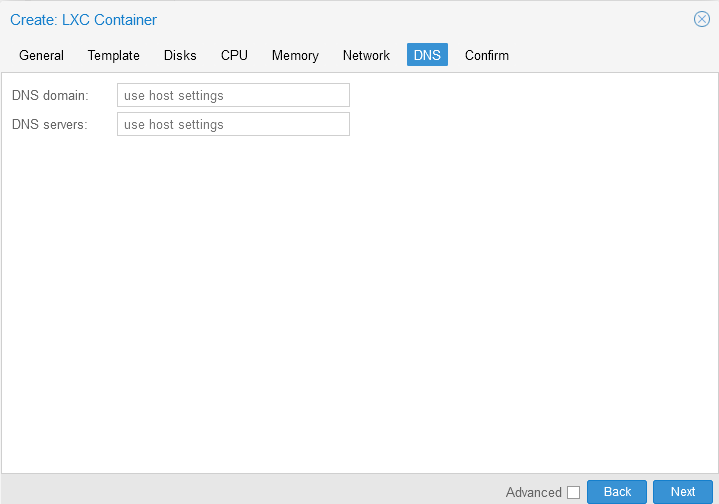
Configure DNS – For DNS settings, we’ll let the container get its DNS from the host.
- Click “Next.”
Start After Creation – On the following screen, make sure to check “Start after created” at the bottom-left corner.
- Click “Finish.”
Sources:
https://www.youtube.com/watch?v=2WjDTUNa-W0
https://www.kali.org/docs/containers/kalilinux-lxc-images/#overview