Let’s ensure your installed software stays up-to-date! We’ll use the Windows Package Manager to quickly find and apply any available updates. Follow the steps below to run the necessary commands using an elevated Command Prompt.
Open Command Prompt as Administrator
Search for CMD in the Start Menu.
Right-click on Command Prompt and select Run as Administrator.
List Available Software Updates
In the Command Prompt, type the following command:
winget upgrade
Press Enter.
This will display all software on your system with available updates.
Install All Available Updates
To update everything, enter the following command:
This Windows utility seems pretty handy from the testing I have done with it. Go check out Chris’ Website, he has some pretty cool stuff going on https://christitus.com/.
You can run this Utility Software straight from an Admin PowerShell using: irm christitus.com/win | iex
In case you don’t know what these PowerShell commands do (I admit, I was a little shaky on them) here is a breakdown:
IRM
The irm command means “Invoke-RestMethod”.
“The Invoke-RestMethod cmdlet sends HTTP and HTTPS requests to Representational State Transfer (REST) web services that returns richly structured data.” Source
IEX
The iex command stands for “Invoke-Expression”.
“The Invoke-Expression cmdlet evaluates or runs a specified string as a command and returns the results of the expression or command. Without Invoke-Expression , a string submitted at the command line would be returned (echoed) unchanged.”Source
What does it do?
INSTALL
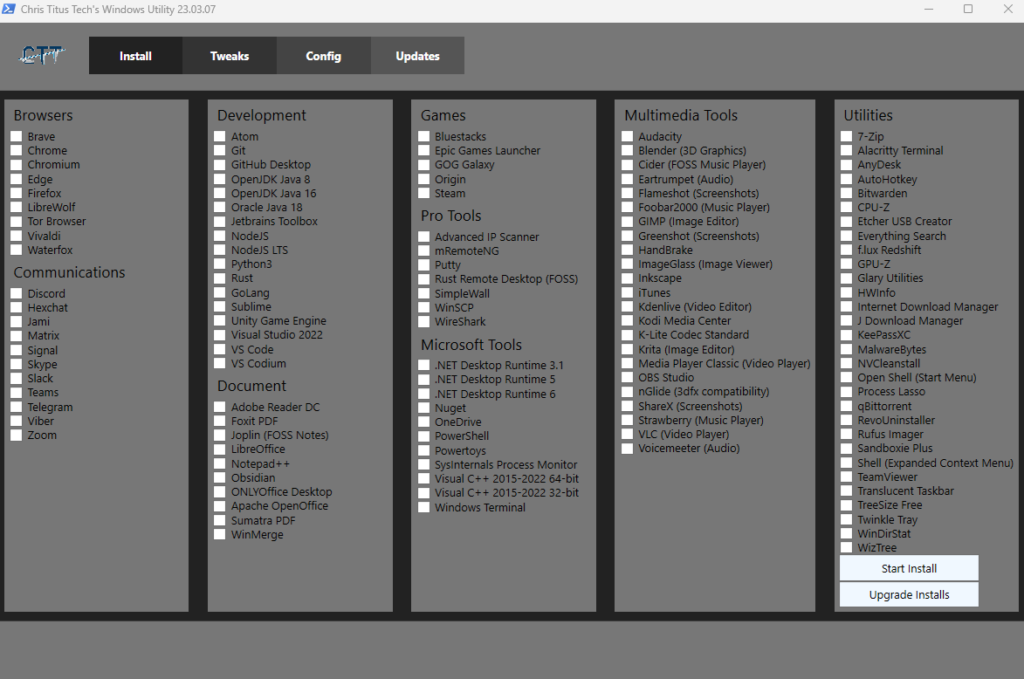
There are several different options for common installs listed here. The categories of software listed are Browsers, Communications, Development, Document, Games, Pro Tools (Very Useful installs), Microsoft Tools, Multimedia Tools, Utilities. The install area reminds me of ninite.com except with more useful tools for sysadmins.
The next gem on this tab is the “Upgrade Installs” button. This button will search your currently installed software and check for updates. If there are updates it automatically install them. I ran this and it updated a lot of software for me! Pretty neat!
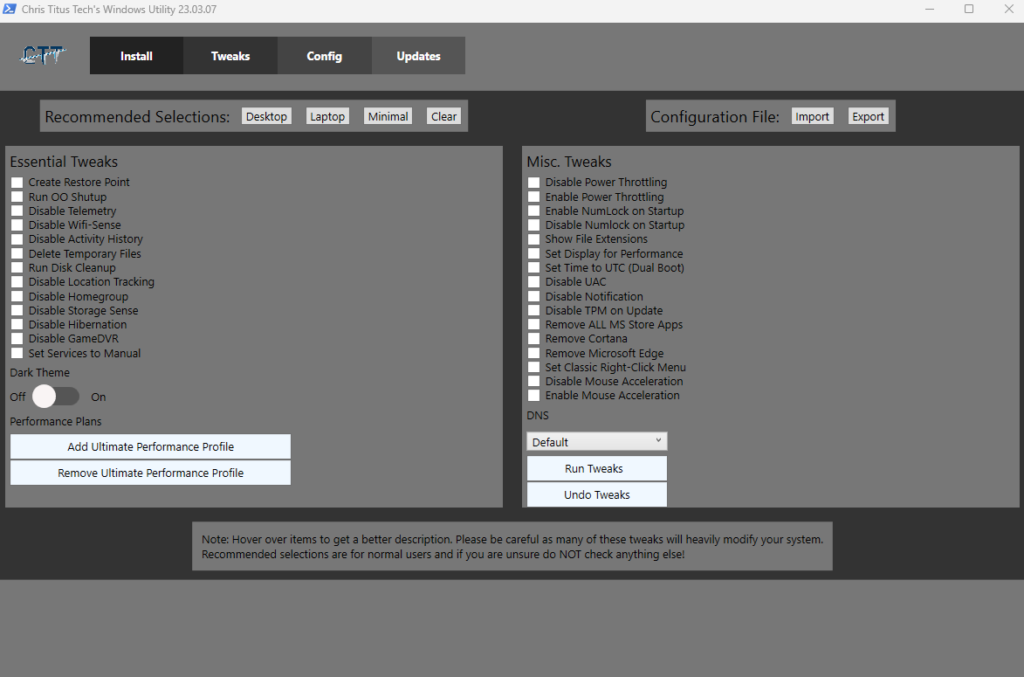
TWEAKS
There are several really good options with the Tweaks tab on the Utility software, most of which I use different PowerShell Scripts to accomplish. Along with all the options there is also a “recommended selections” option that will select the options the Author has deemed to be the best for the system type. Don’t worry about clicking these recommended options, they don’t auto-apply, they just check the options. You still have to manually click the “Run Tweaks” button.
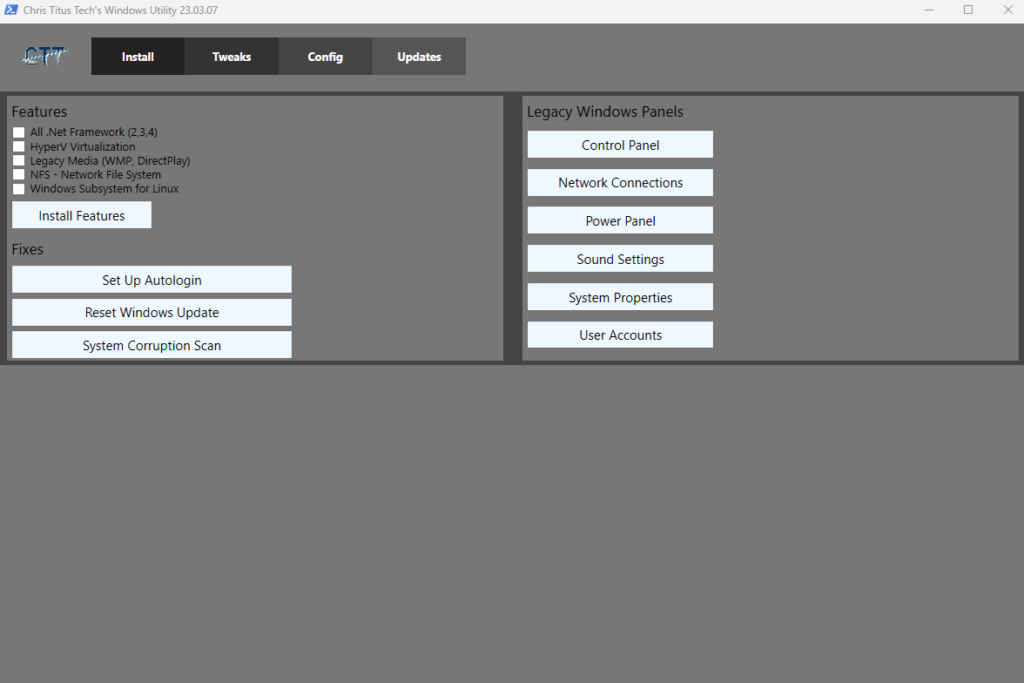
CONFIG
The Config tab just a few options, ranging from Windows Features installer to Windows Fixes and also includes Legacy Control Panel options.
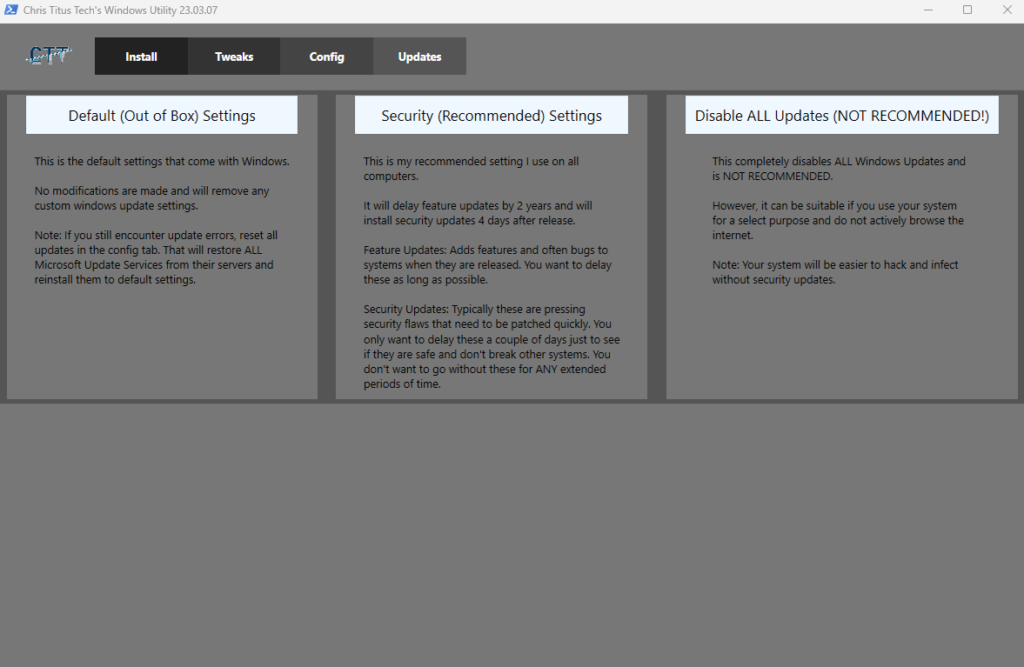
UPDATES
The Updates tab deals with setting Windows Update options. These update options are limited to “Default OOB (Out of Box)”, Security (Recommended), and Disable all updates.
Getting access to Sysinternals quickly can be handy in any Windows environment.
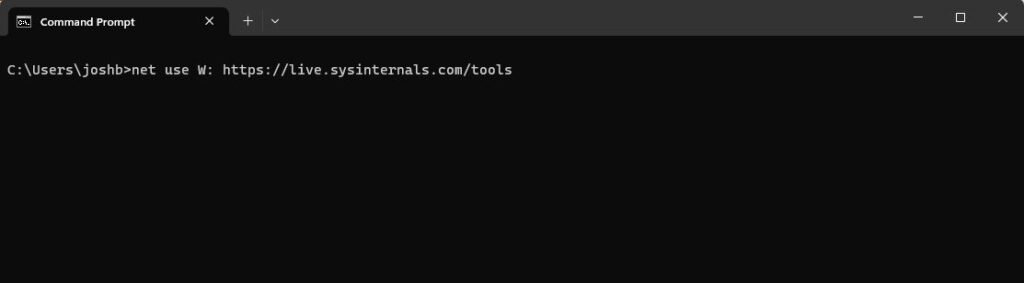
You can add Sysinternals as a mapped drive in Windows by using this command at the Command Prompt (replace the drive letter “W:” with the drive letter of your choosing):
Copy your vmdk into this folder (so that the qemu-img.exe is in the same folder as your vmdk)
Open the Command Line and navigate to the folder we just unzipped (or type cmd into the address bar in explorer (and hit Enter) – this will open CMD prompt to that directory)
NOTE 1: You can download the vmdk from the ESXI storage datastore too (go to storage and then to your datastore, then “Datastore Browser”.). Downloading it this way you will need to convert using the raw switch (since this downloads a raw vmdk file).
#> qemu-img.exe convert -f raw -O qcow2 “YOURVMDKNAME-flat.vmdk” YOURVMDKNAME.qcow2
NOTE 2: You can check what format a vmdk is by using the following command:
> qemu-img.exe info YOURVMDKNAME.vmdk
Decommission ESXI Server and install Proxmox
If you are using the same server hardware you can now decommission ESXI and install Proxmox. I use the latest Proxmox ISO to install to my lab server.
**First thing we want to do is make a folder to hold the migrated qcow2 files temporarily. Login to your Proxmox server and access the shell. Use this command to make directory to copy to: mkdir /var/lib/vz/template/qemu (note: You don’t have to use sudo here because you are logged in as root)*****
I use Powershell with the scp (Secure Copy) command to move the qcow2 files to the Proxmox server. Use this command to copy using scp:
Test VMs making sure everything works (including connection to SAN)
I am using a SAN so I had to make sure connections works afterword’s. I tested by installing Proxmox onto my ESXI as a VM and followed all the steps above. After I completed all the steps I booted the VM in Proxmox. I thought I was doing something wrong with Proxmox because I could not get the VM to communicate with the network (only able to ping the host (Proxmox) and not my gateway). It turns out since I was using nested vitalization I had to turn on Promiscuous mode on the VM Network in ESXI. After fixing this I was able to fully test the migrated qcow2 VM. Everything worked! I exported/converted all my VMs and decommissioned ESXI, installed Proxmox and followed the same steps again. I am now fully migrated to Proxmox.